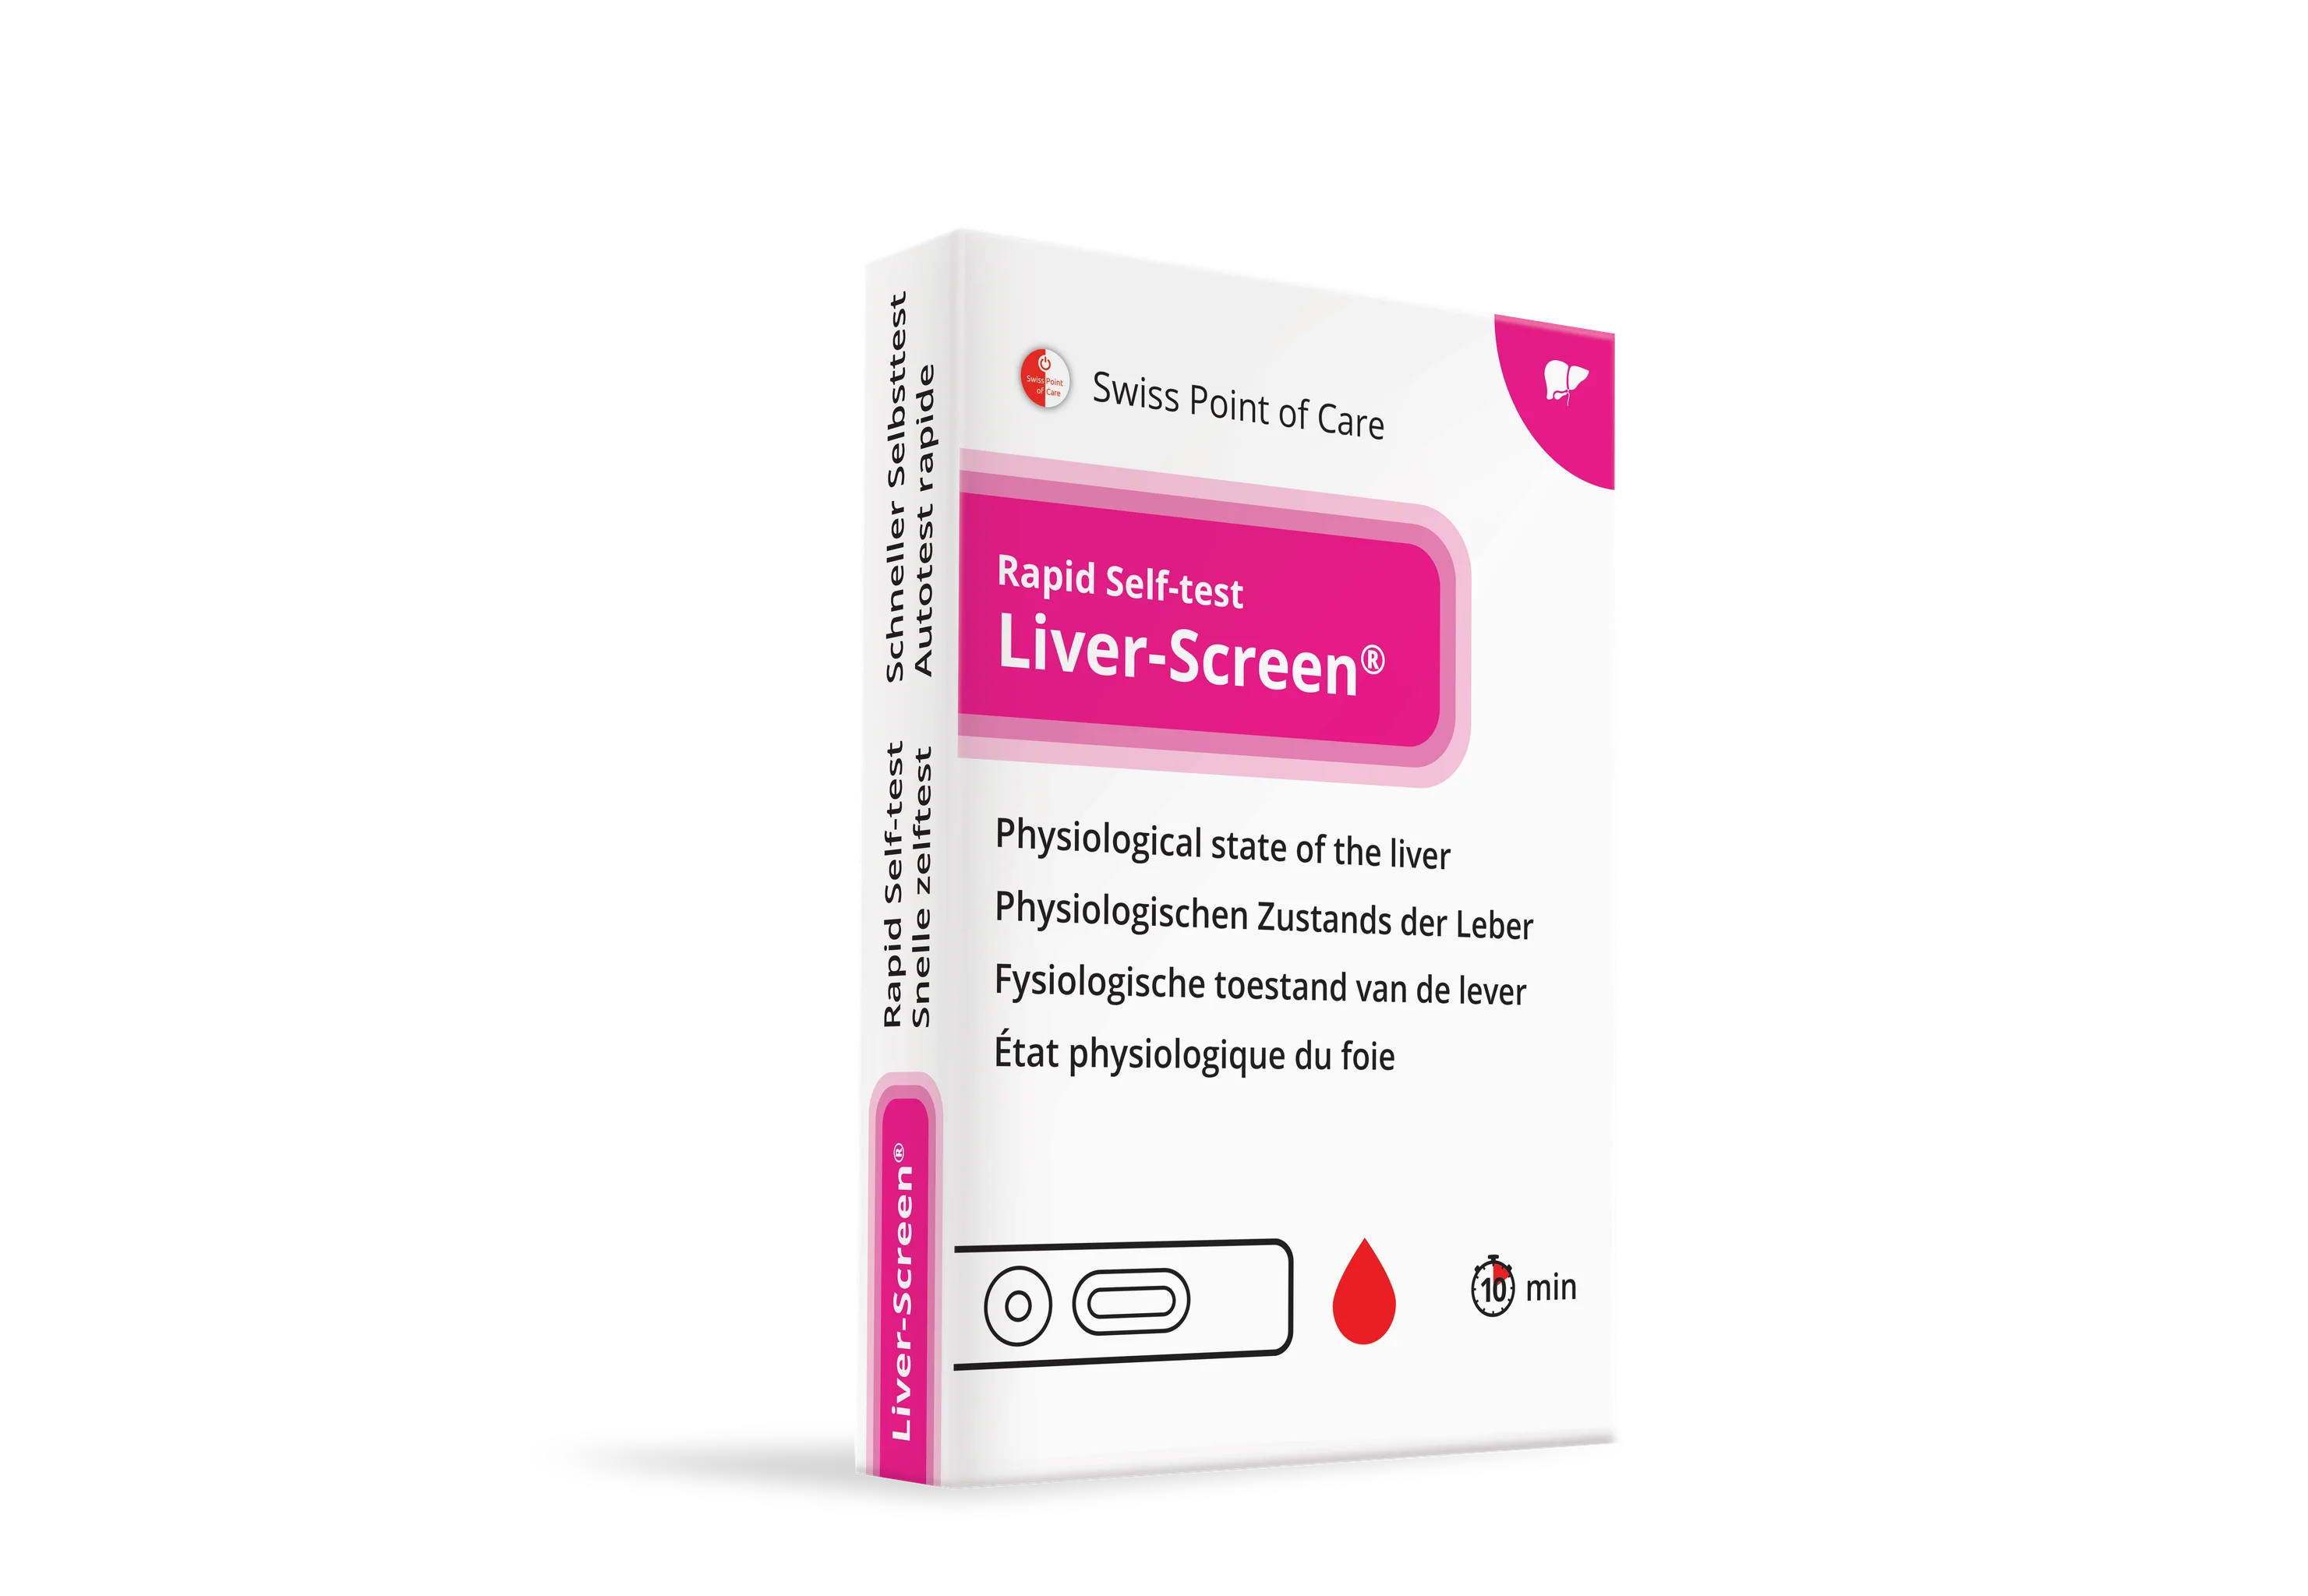
Liver-Screen® Swiss Point of Care
Rapid self-test for assessing the physiological state of the liver in blood
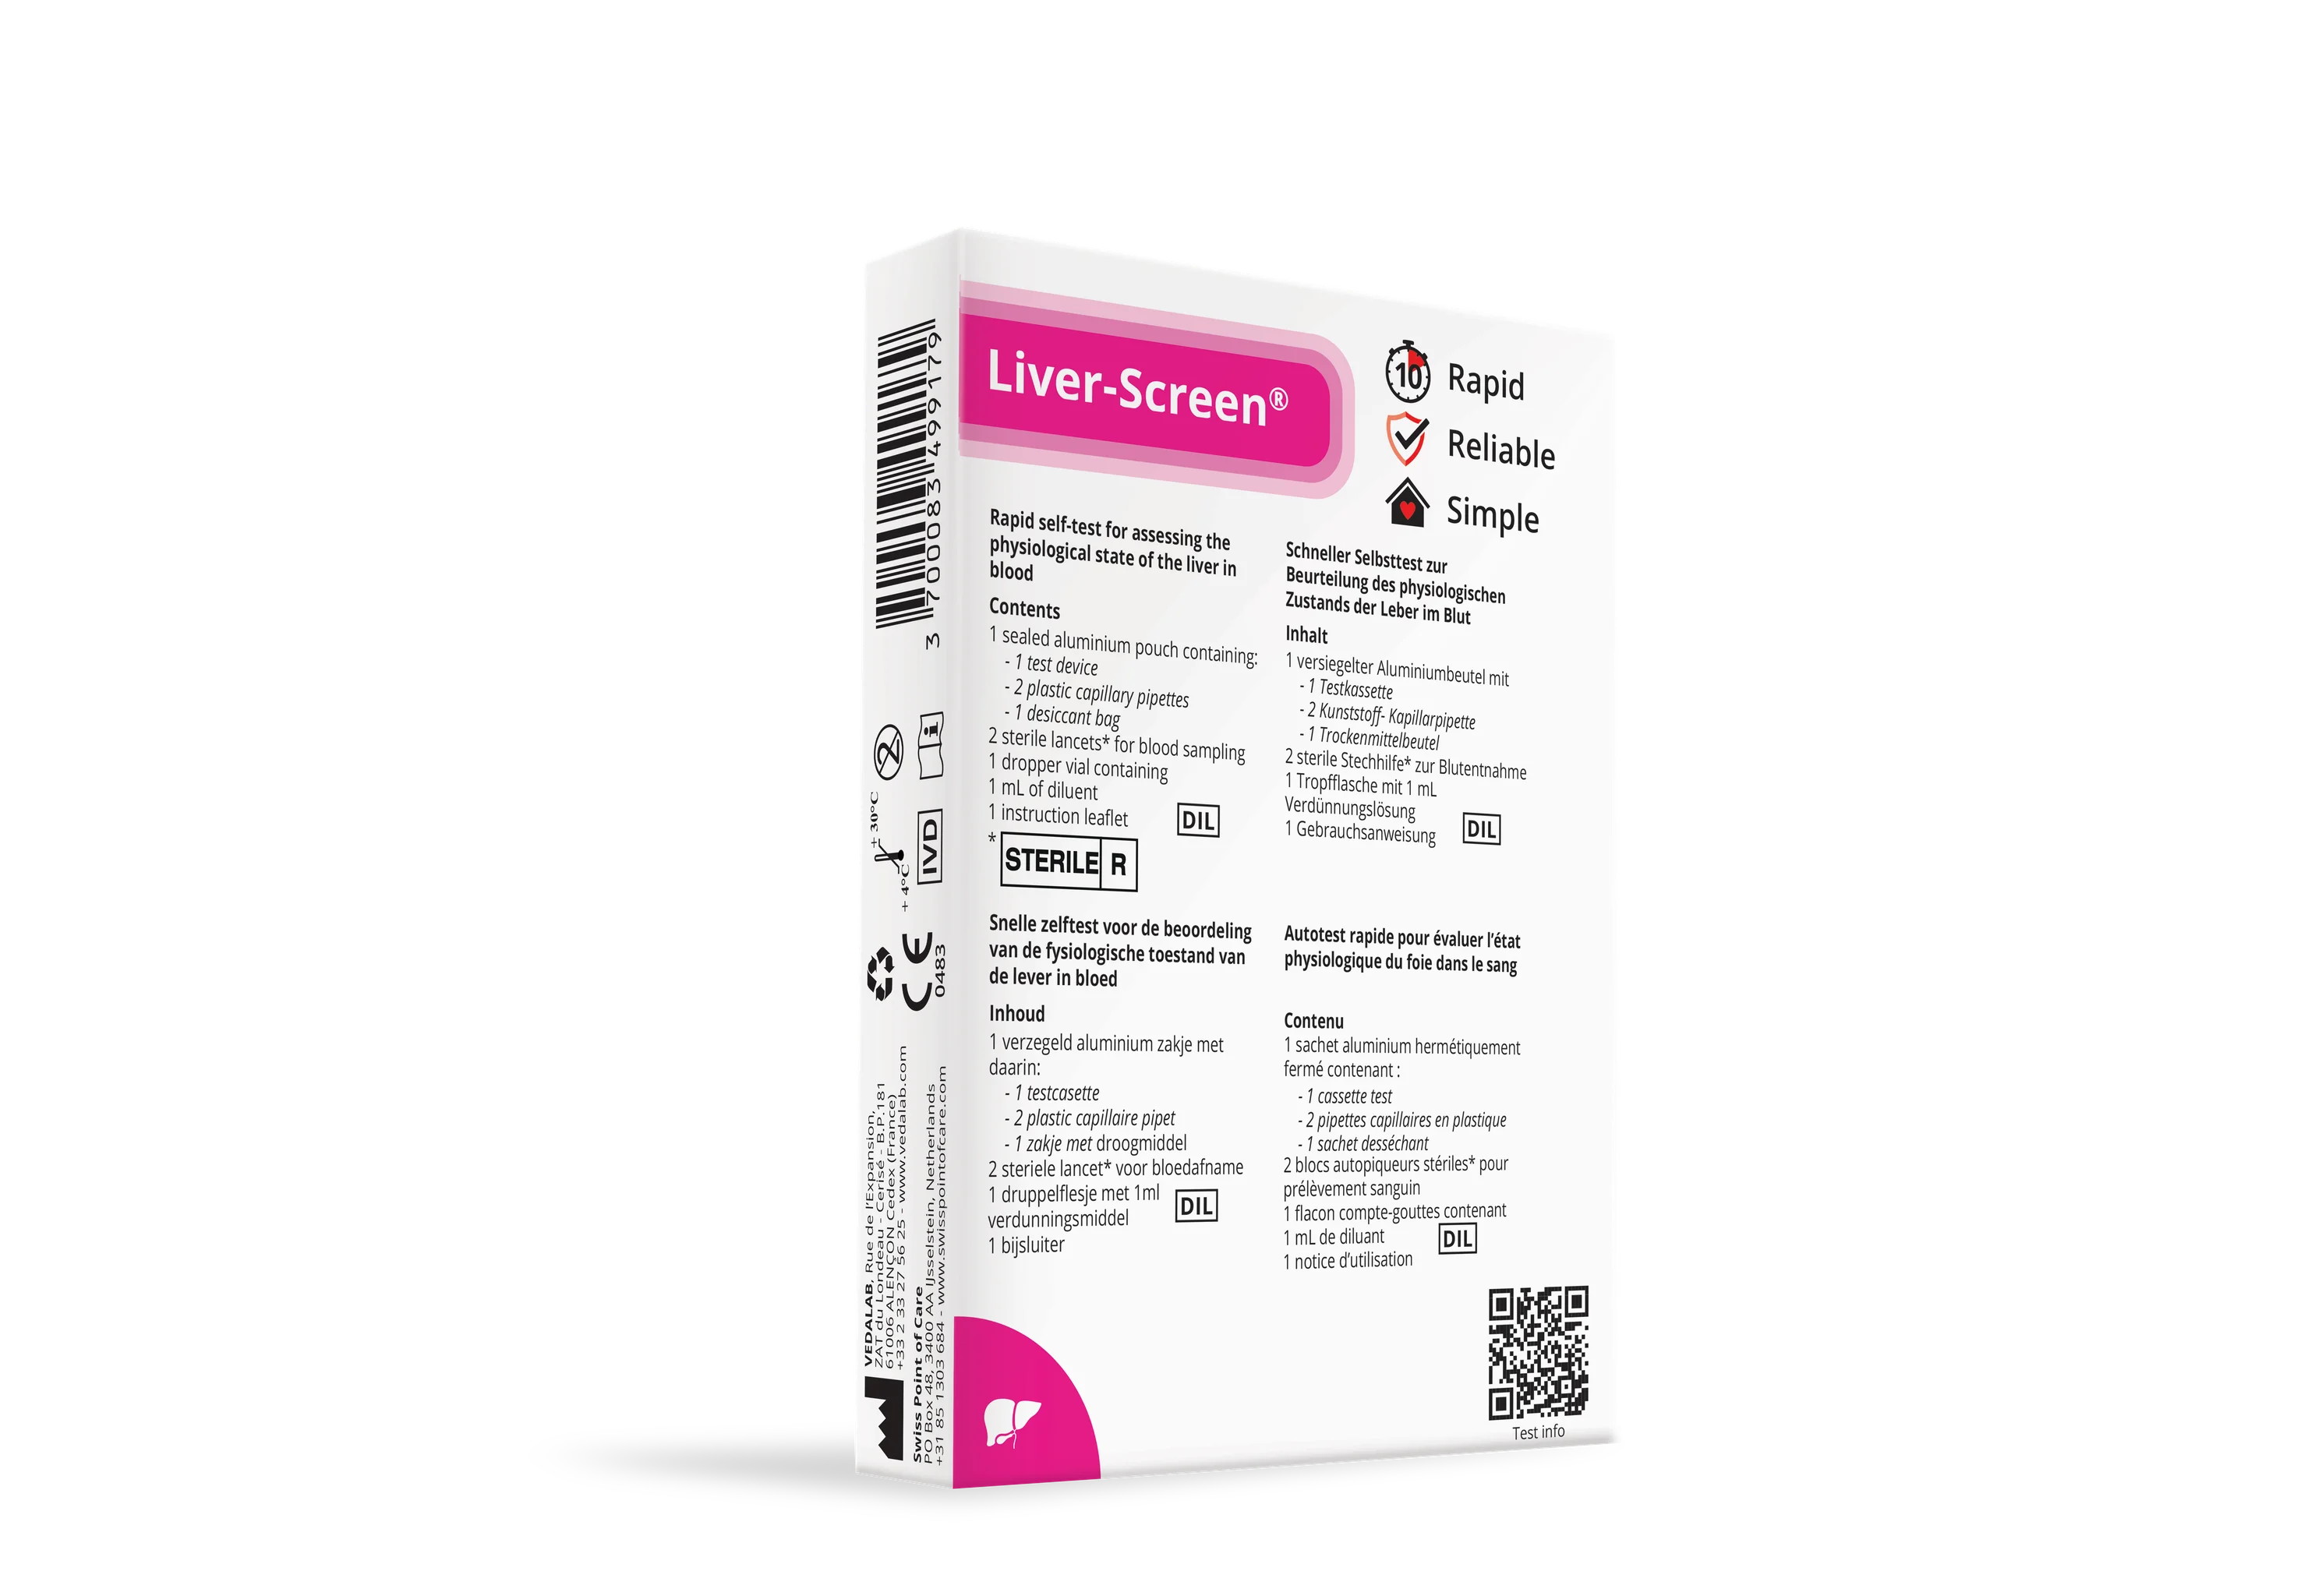
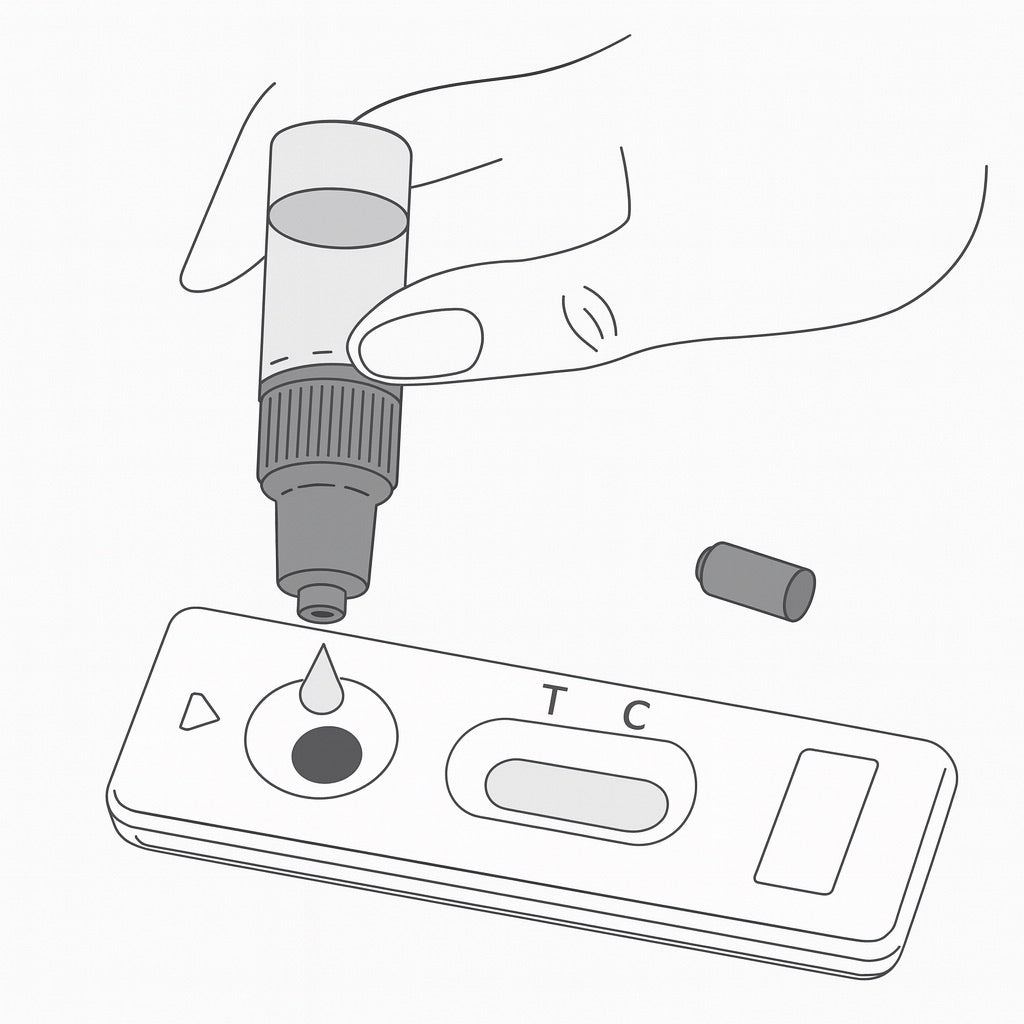
The LIVER-Screen® is a manual qualitative immunochromatographic screening test for the immunological detection of increased transaminase (both ALT and AST) levels in finger prick whole blood sample. It can be used at home by lay users for self-testing for the assessment of liver physiological status. The test consists on a plastic housing containing one stick having two distinct zones for transaminases detection (red colour when positive) and one control zone (blue colour).
- Screen Rapid self
- test for assessing the physiological state of the liver in blood.
- Screen® is a rapid immunodiagnostic test used to detect an increase in the activity of transaminases (ALAT and ASAT) from a capillary blood sample obtained from the fingertip
Liver-Screen® Swiss Point of Care
The information on this page does not replace medical advice.
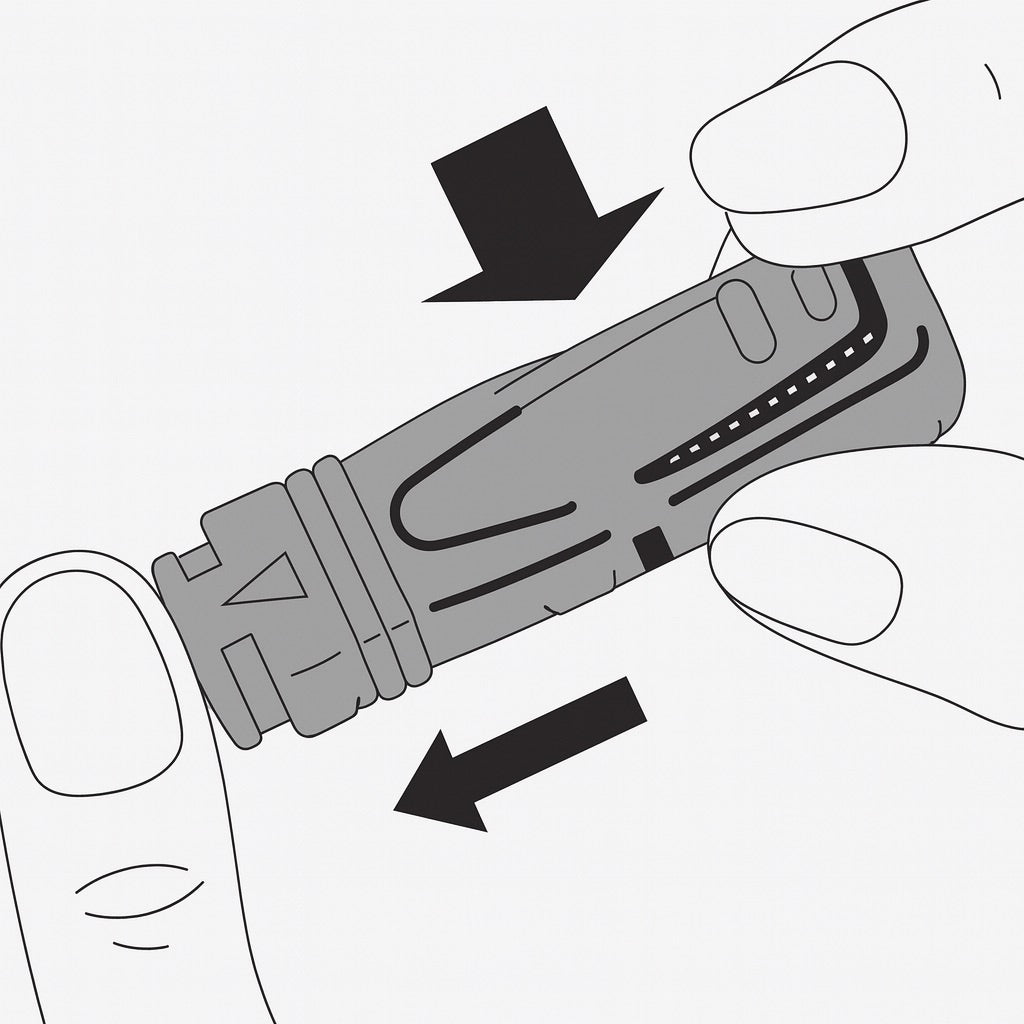
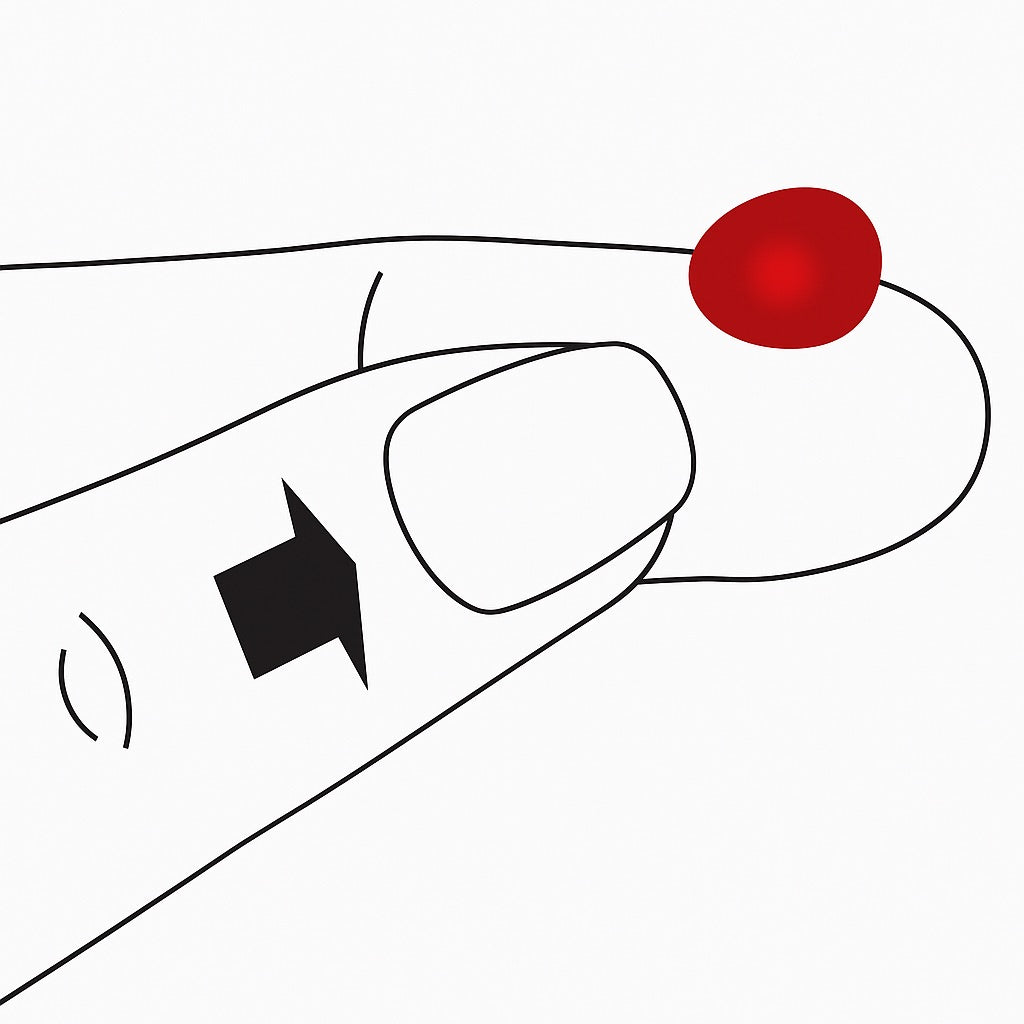
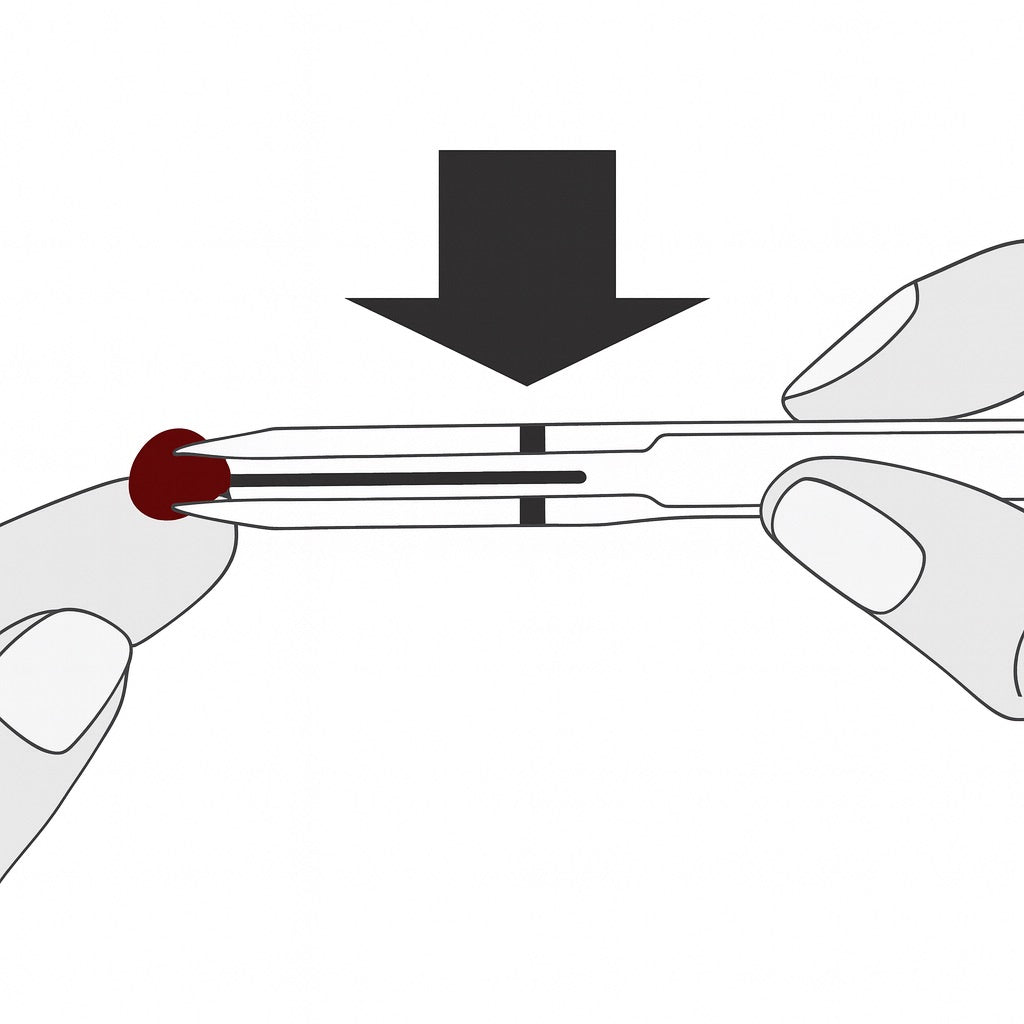
How to use the Liver-Screen® Swiss Point of Care
Customer reviews
Our reviews are authentic. Only verified buyers receive an email invitation to review the items they purchased. We reserve the right to remove unlawful review content.